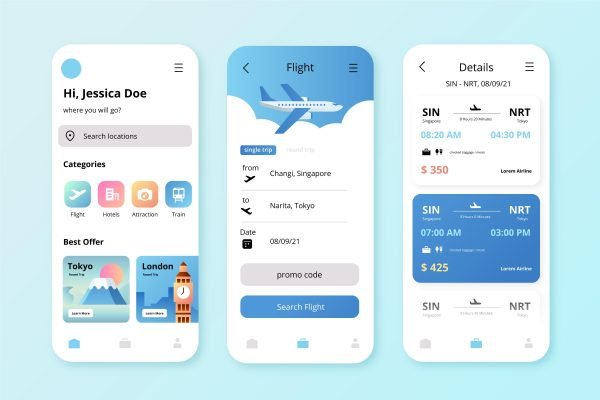
Flutter, developed by Google, has rapidly become one of the most popular frameworks for building cross-platform applications. Whether you are developing for Android, iOS, web, or desktop, Flutter offers a seamless and efficient way to create high-quality apps with a single codebase. In this blog, we will delve into the core features, benefits, and components of Flutter, providing you with a comprehensive understanding of why it stands out in the world of app development.
What is Flutter?
Flutter is an open-source UI software development kit (SDK) created by Google. It allows developers to build natively compiled applications for mobile, web, and desktop from a single codebase. Flutter uses the Dart programming language, also developed by Google, which is optimized for fast development and high performance.
Key Features of Flutter
1. Hot Reload
One of Flutter’s most praised features is Hot Reload. This allows developers to see the results of their code changes almost instantly without restarting the app. It significantly speeds up the development process, enabling rapid experimentation and iteration.
2. Single Codebase
With Flutter, you write your code once and deploy it across multiple platforms. This reduces development time and effort, as you do not need to maintain separate codebases for Android, iOS, web, and desktop applications.
3. Rich Set of Pre-designed Widgets
Flutter provides a rich set of customizable widgets that make it easy to create beautiful and highly interactive user interfaces. These widgets follow the Material Design guidelines for Android and the Cupertino design principles for iOS, ensuring a native look and feel on both platforms.
4. High Performance
Flutter’s architecture is designed to deliver high performance. It compiles to native ARM code, uses the Skia graphics engine, and benefits from Dart’s Ahead-of-Time (AOT) compilation, resulting in smooth and fast applications.
5. Access to Native Features
Flutter allows you to access native features and APIs using platform channels. This means you can leverage device-specific functionality and integrate with existing native code, ensuring your app can utilize all the capabilities of the underlying platform.
Getting Started with Flutter
1. Setting Up the Environment
Before you start developing with Flutter, you need to set up your development environment. This includes installing Flutter SDK, Dart SDK, and an IDE such as Visual Studio Code or Android Studio.
2. Creating a New Flutter Project
Once your environment is set up, you can create a new Flutter project using the following command:
flutter create my_appThis command generates a new Flutter project with a default directory structure and a simple counter app.
3. Understanding the Project Structure
A typical Flutter project consists of the following directories and files:
lib: Contains the main Dart code for your application.test: Contains the unit and widget tests.android: Contains the Android-specific code.ios: Contains the iOS-specific code.web: Contains the web-specific code.pubspec.yaml: The configuration file where you manage dependencies and assets.
4. Building the User Interface
In Flutter, everything is a widget. You build your UI by composing widgets, which can be stateless or stateful.
Example: A Simple Hello World App
import 'package:flutter/material.dart';

void main() {
  runApp(MyApp());
}

class MyApp extends StatelessWidget {
  @override
  Widget build(BuildContext context) {
    return MaterialApp(
      home: Scaffold(
        appBar: AppBar(
          title: Text('Hello World App'),
        ),
        body: Center(
          child: Text('Hello, World!'),
        ),
      ),
    );
  }
}
5. Managing State
Managing state in Flutter can be done using various approaches, including StatefulWidgets, Provider, Riverpod, and Bloc.
Example: Using StatefulWidget
import 'package:flutter/material.dart';

void main() {
  runApp(MyApp());
}

class MyApp extends StatefulWidget {
  @override
  _MyAppState createState() => _MyAppState();
}

class _MyAppState extends State<MyApp> {
  int _counter = 0;

  void _incrementCounter() {
    setState(() {
      _counter++;
    });
  }

  @override
  Widget build(BuildContext context) {
    return MaterialApp(
      home: Scaffold(
        appBar: AppBar(
          title: Text('Stateful Widget Example'),
        ),
        body: Center(
          child: Column(
            mainAxisAlignment: MainAxisAlignment.center,
            children: <Widget>[
              Text('You have pushed the button this many times:'),
              Text(
                '$_counter',
                style: Theme.of(context).textTheme.headline4,
              ),
            ],
          ),
        ),
        floatingActionButton: FloatingActionButton(
          onPressed: _incrementCounter,
          tooltip: 'Increment',
          child: Icon(Icons.add),
        ),
      ),
    );
  }
}
Benefits of Using Flutter
1. Faster Development
Flutter’s Hot Reload feature and a rich set of pre-designed widgets enable rapid development, making it possible to bring your ideas to life quickly.
2. Consistent UI Across Platforms
With Flutter, you can ensure a consistent look and feel across all platforms, as the same codebase is used for Android, iOS, web, and desktop applications.
3. Cost Efficiency
Maintaining a single codebase for multiple platforms reduces development and maintenance costs, making Flutter a cost-effective solution for cross-platform app development.
4. Growing Community and Ecosystem
Flutter has a vibrant and growing community, with extensive documentation, tutorials, and third-party packages available to help you along your development journey.
Flutter has revolutionized the way developers approach cross-platform app development. Its ability to provide a seamless and efficient development experience, combined with high performance and a rich set of features, makes it a powerful tool for building modern applications. Whether you are a beginner or an experienced developer, Flutter offers everything you need to create beautiful, responsive, and performant apps for multiple platforms.
If you’re interested in exploring Flutter further, check out the official documentation and start building your first Flutter app today!